How to Use a Cable Swaging Tool for Wire Rope
A Cable Swaging Tool joins wire rope to a fitting by compressing a metal sleeve around the strands. The result depends on more than force. Rope construction, sleeve material, tool capacity, and die size must match. A mismatch can leave a connection that looks secure but slips under load.
A trustworthy guide should not invent an expert’s words. No verifiable expert quotation or source was provided, so this introduction does not attribute a quote to a named specialist. A useful shop-floor principle is simple: “Match the tool, die, sleeve, and rope before you swage.” Then inspect the equipment. Check for worn dies, cracks, and clean, undamaged rope ends. Small details matter.
This guide explains how to prepare wire rope, position the sleeve, and make controlled compressions with a Cable Swaging Tool. It also covers basic inspection after swaging, including checking sleeve shape and looking for strand damage. The exact method varies by tool and fitting, so follow the manufacturer’s instructions and use the specified die sequence. Never assume a neat-looking crimp proves the connection is sound. For load-bearing applications, use the appropriate tested components and have the finished assembly assessed by a qualified professional. The process is hands-on, and mistakes can be hard to spot.
Understanding Cable Swaging and Wire Rope Connections
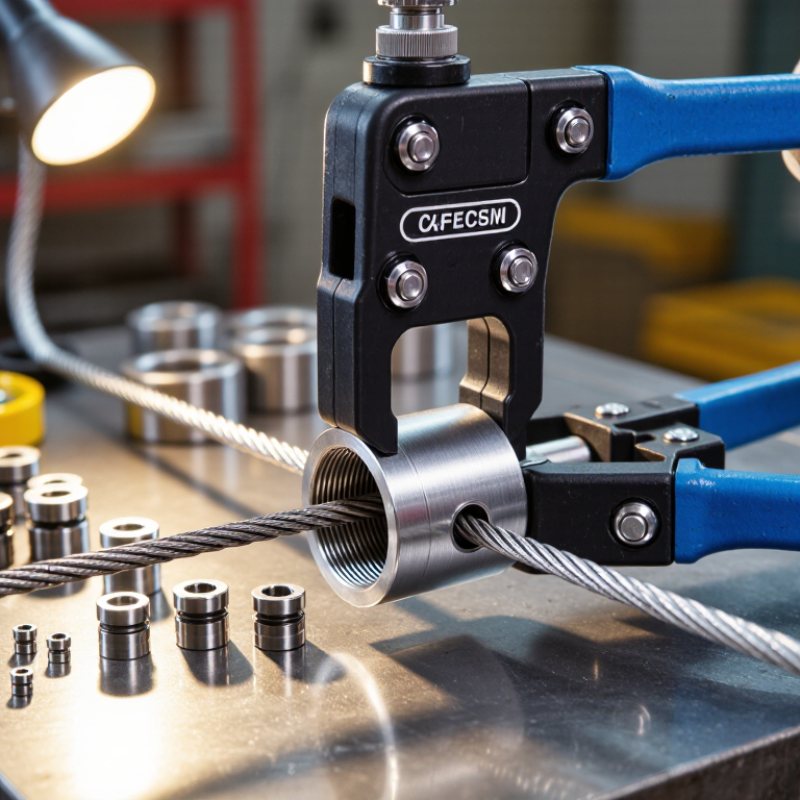
Swaging compresses a metal sleeve around wire rope to form a mechanical connection. Unlike a knot, it relies on controlled deformation and compatible components. The sleeve grips the rope’s strands, while a finished eye can attach to a fitting or anchor. Details matter. Rope diameter, construction, sleeve material, and die profile must match the tool’s specifications. A sleeve that looks close in size may still produce a weak connection.
Before swaging, inspect the rope for broken wires, corrosion, or flattened strands. Cut it cleanly, then thread it through the sleeve according to the fitting design. Leave the intended eye size in place; too small an eye can bind against its attachment. Position the sleeve fully inside the correct die, and keep hands clear of the moving handles. A firm, even squeeze matters more than forcing the tool.
After compression, examine the sleeve for cracks, sharp edges, or uneven deformation. Check that the rope has not slipped and that the eye remains properly shaped. A neat appearance alone does not prove adequate strength. Follow the tool and fitting maker’s instructions, including any specified inspection or load-testing procedure. It is tempting to rush this step, especially on a small repair. That is where doubts deserve attention. If the rope or sleeve pairing is unclear, pause and verify it before putting the connection under load.
Selecting the Right Swaging Tool, Dies, and Fittings
Selecting a swaging tool starts with the wire rope, not the press. Measure its actual diameter with calipers, then confirm its construction, core, and grade from the rope documentation. Nominal diameter alone is not enough. ISO 2408:2017 lists tensile-strength grades of 1,570, 1,770, 1,960, and 2,160 N/mm². These grades inform minimum breaking force, but do not determine die compatibility. Match the press capacity and die profile to the rope diameter, fitting material, and specified construction. Use dies intended for that fitting type; similar-looking dies can leave a sleeve loose or crush it. That detail is easy to overlook.
Before pressing, inspect the dies for wear and check the fitting’s required finished diameter in its technical instructions. Seat the rope fully, keep the sleeve square, and follow the specified compression sequence. Check with calipers. A common trap is trusting the sleeve’s appearance; a neat swage alone does not establish strength. OSHA 29 CFR 1910.184(e)(1) requires wire-rope slings to carry legible identification, including rated capacity. Record the rope, fitting, die, press setting, and inspection result. If specifications are missing, pause and verify compatibility before loading.
Preparing the Wire Rope and Positioning the Fitting
Before using a cable swaging tool, confirm that the wire rope and fitting are designed to work together. Check the rope diameter, construction, and material against the fitting specifications. A mismatch can weaken the connection, even when the finished swage looks neat. Inspect the rope under good light. Look for broken wires, flattened areas, corrosion, or kinks. Do not use damaged rope. Small defects matter.
Measure the required length carefully, allowing for the fitting and the finished connection. Mark the cut point, then use a suitable wire-rope cutter to make a clean, square cut. A rough cut can spread strands and make fitting insertion difficult. Eye protection helps guard against sharp wire ends. Handle the cut section carefully; exposed strands can snag skin. It is easy to rush this step.
Slide the fitting onto the rope in the correct orientation, then push the rope fully into its socket or sleeve. Use the specified insertion depth, and mark it on the rope beforehand if that helps. Check that no strands fold back or sit outside the fitting. The mark should remain visible at the opening. Recheck the measurement and seating before swaging. Even careful preparation can miss a strand, so look closely.
How to Use a Cable Swaging Tool for Wire Rope
Preparing the Wire Rope and Positioning the Fitting
Follow the steps in order: inspect the rope, make a clean cut, slide on the fitting, mark the required insertion depth, and position the fitting in the correct swaging die. The bar lengths show sequence order only—not time, force, or a universal fitting specification. Always follow the fitting and tool manufacturer’s instructions.
Inspecting the Finished Connection for Safety and Quality
After swaging a wire-rope connection, clean away grease and metal debris so the sleeve is easy to inspect. Look closely. Check for cracks, sharp burrs, uneven compression, or a sleeve that has shifted off-center. The rope should enter the fitting as specified, with no broken strands or sharply bent sections near the sleeve. A neat-looking finish can still hide a problem.
Use calipers to measure the finished sleeve at the points and dimensions specified for that fitting. Compare the readings with the manufacturer’s instructions, not with another connection that merely looks similar. Check that the rope has not slipped; a witness mark made before swaging can help reveal movement.
Not enough. A visual check alone cannot confirm strength, and pulling on the rope by hand is not a meaningful load test.
If the connection is safety-critical, follow the specified inspection and proof-load procedure with suitable equipment, or ask a qualified inspector. Record measurements and any irregularities. It is easy to feel reassured by a smooth surface; taking a second look is a better habit.