How to Choose a Smart Photo Booth in 2026
Choosing a Smart Photo Booth in 2026 means looking beyond a bright touchscreen. The right system should suit your venue, guests, staff, and budget. A wedding reception may need quick prints and simple sharing. A brand activation may need custom screens, data reporting, and reliable support. Those needs are not interchangeable.
Ansel Adams, the renowned photographer, wrote, “You don’t take a photograph, you make it.” His point still applies to booth technology: the camera is only part of the result. Lighting, lens quality, software, and guest flow all shape the final image. Look closely at sample photos in dim rooms, not just polished studio shots. Test how long sharing takes. Ask what happens when the printer jams or Wi-Fi drops. Small details matter.
This guide compares the features that affect real events, including image quality, customization, accessibility, setup, privacy controls, and ongoing costs. It also explains which questions to ask vendors before signing. A booth can look impressive in a demo and feel awkward in a crowded room. That is easy to miss. No single model fits every event, and a longer feature list does not always mean better value. The useful choice is the one your team can operate confidently and your guests will actually enjoy.
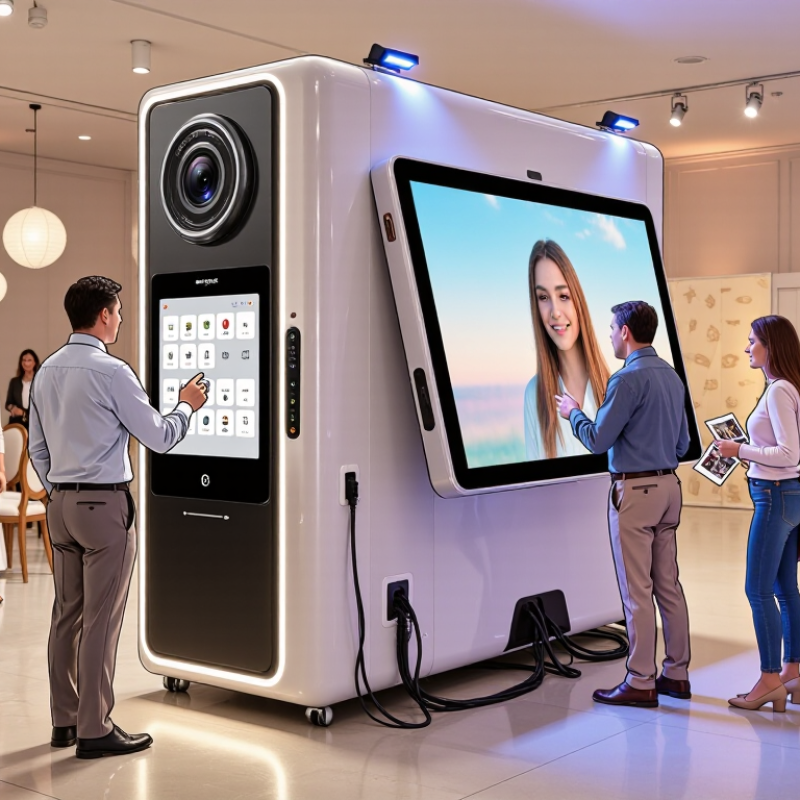
Define Event Goals, Guest Volume, and Required Smart-Booth Workflows
How to Choose a Smart Photo Booth in 2026
Define Event Goals, Guest Volume, and Required Smart-Booth Workflows
Start with the job the booth must do. A product launch may need quick, branded portraits; a staff party may value easy group shots and instant sharing. Eventbrite’s 2024 Social Study, conducted with Harris Poll, found that 73% of surveyed U.S. consumers would attend live events to feel more connected to their community. For community-focused events, sharing options can support that goal. But a photo booth alone cannot create connection.
Estimate peak demand, not just total attendance. If 300 guests arrive within an hour, a slow capture-and-send process can create a visible queue. Ask suppliers to demonstrate the full workflow: capture, review, delivery by QR code or email, and any optional data collection. Test it on the venue’s actual Wi-Fi. That detail gets overlooked. I have seen a workflow look effortless in a demo, then stumble in a crowded room.
Match features to your event’s purpose and staffing. Choose moderation tools when images appear on a shared screen, and clear opt-in controls when collecting contact details. Cvent’s 2024 Planner Sourcing Report is a useful planning reference for aligning attendee needs with event requirements; use your registration figures and arrival patterns to make the booth estimate specific. Be honest about uncertainty: guest arrival times are rarely perfectly even. A short live test with several users can reveal bottlenecks before event day.
Compare Camera Resolution Using ISO 12233 Testing Principles
When comparing smart photo booths, do not treat megapixels as a resolution score. ISO 12233:2023 describes chart-based methods for measuring digital-camera resolution and spatial frequency response. Look for results in line widths per picture height (LW/PH), not just a sensor’s pixel count. Higher numbers can reveal finer detail, but sharpening may make edges look crisp while hiding weak texture.
Use the same ISO-style test setup for each booth: fixed distance, even lighting, identical focus settings, and a slanted-edge resolution chart. Photograph fine lines and small text near the center and corners. Then inspect the files at 100% magnification. Watch for jagged edges, smearing, and detail that vanishes in shadows. Small differences matter.
Context helps. CIPA’s 2024 camera shipment report recorded about 8.49 million digital cameras shipped worldwide, showing a substantial market for imaging hardware; shipment totals do not prove image quality. For a booth, repeat tests with people moving slightly and with typical event lighting. Record the lighting and file settings, too. I still find chart results easy to overvalue. A booth image must also hold detail in hair, fabric, and glasses. ISO 12233:2023, Photography — Electronic still picture imaging — Resolution and spatial frequency responses.
Audit AI Features, Consent, and Data Handling Against GDPR Principles
How to Choose a Smart Photo Booth in 2026
Choosing a smart photo booth means looking beyond camera quality. Ask what each AI feature does and whether the event actually needs it. Face effects, image sorting, and other automated tools may process personal data. A polished demo does not prove careful data handling. Check the details.
Before guests use the booth, show a clear notice beside the screen. Explain what is collected, why it is needed, who can access it, and when it will be deleted. If photos will be used for a separate purpose, such as public promotion, ask for a distinct, freely given choice. A consent button should not be bundled with unrelated terms. Keep the wording readable. Tiny print gets ignored.
Ask the supplier how images are encrypted, where they are stored, and whether staff can download them. Set a deletion deadline, then confirm that backups follow it too. Request a way to find and remove a guest’s image when appropriate. These checks reflect core GDPR principles: transparency, data minimization, purpose limitation, and storage limitation. Even a good notice can be missed in a busy venue. Test the guest journey yourself, from the first screen to the final deletion, and record any gaps before opening day.
Verify Print-Ready Images at the 300-PPI Photo-Quality Benchmark
How to Choose a Smart Photo Booth in 2026
A booth preview can look crisp on a bright screen and still produce a soft print. Check the exported image, not just the live display. For a reliable photo-quality benchmark, aim for 300 pixels per inch at the print’s final size. A 4-by-6-inch print therefore needs an image around 1200 by 1800 pixels. Ask whether the booth saves files at that resolution before cropping or resizing.
Inspect a sample file and a physical print. Look closely at hair, small text, and the edges of faces. These details reveal blur and compression quickly. Also confirm the print dimensions and file format with the operator. A high pixel count alone cannot restore detail that the camera never captured. I still find this easy to overlook: a phone preview can flatter an image. Paper is less forgiving. If possible, print a test using the same settings planned for your event.
Tips: Save a full-resolution sample and check its pixel dimensions. Match those dimensions to the intended print size. Print one test copy under ordinary room lighting. If it looks muddy, adjust the capture or export settings before the event.
Check Venue Access Against the ADA’s 36-Inch Clear-Route Minimum
When comparing smart photo booths, check the route guests will actually use, not just the booth’s listed dimensions. The ADA Standards generally require accessible routes to provide at least 36 inches of clear width, subject to specific exceptions and conditions. A tape measure helps. Measure from fixed edges, such as walls or counters, and include the booth when it is fully set up. A unit that fits in a floor plan may still narrow the route once its screen, printer shelf, or cables are in place.
Walk the entire path from the entrance to the booth. Check doorways, turns, temporary partitions, and the space where guests may wait. Keep the queue outside the clear route; a neat line can drift into it when people pose or collect prints. Ask the venue to confirm measurements on site, since furniture often moves before an event. The 36-inch figure is not a complete accessibility check. Maneuvering space and reachable controls matter too, and requirements can depend on the location and layout.
A common planning mistake is measuring only the aisle’s widest point. That misses pinch points near a chair leg or cable cover. It is easy to assume staff can move things later, but busy event floors make that unreliable. Confirm the final layout with the venue and allow extra room where possible. Then recheck after installation, before guests arrive.